Phaser stress
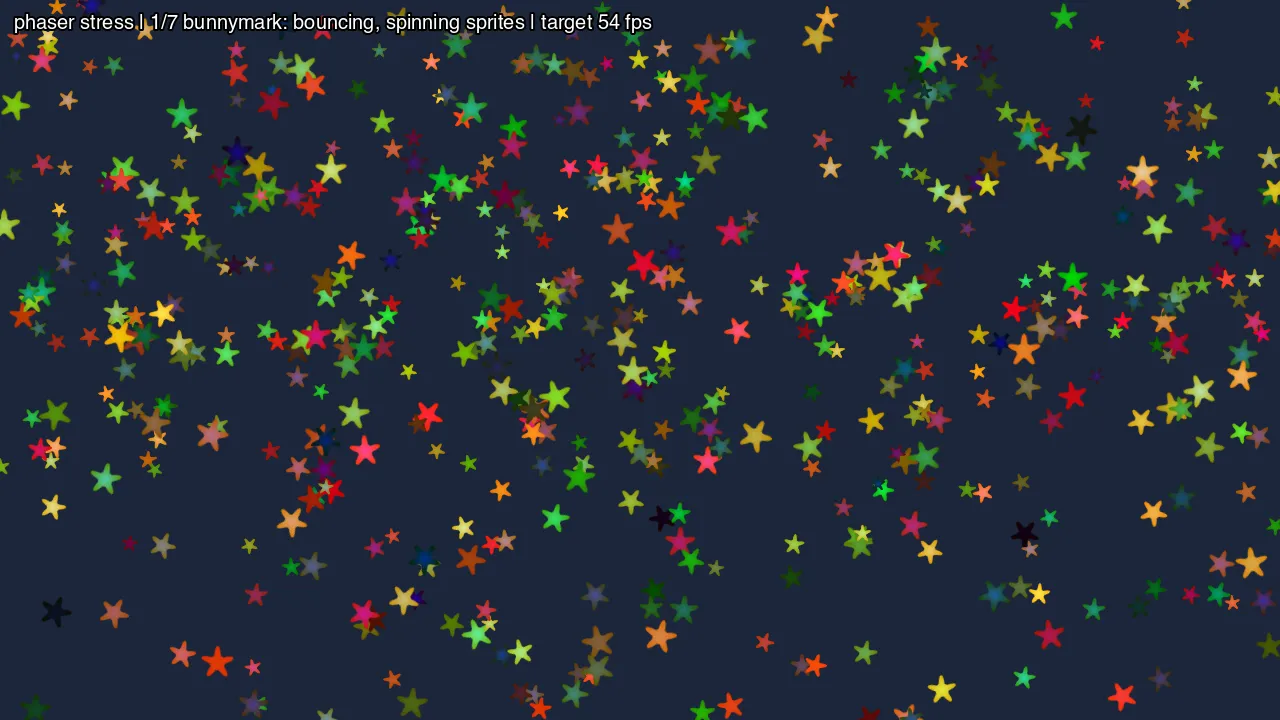
What you are looking at: the same phase, at the same point, as the Pixi stress test — and that is the whole design. Compare the two screenshots: same stars, same status line, same target. Only the engine underneath differs.
Why it is a copy
Section titled “Why it is a copy”src/stress.js is the same file in both apps. It owns:
- the load schedule and the measurement,
- and all the game logic that is not the engine’s — the level, the enemy physics, the bullet patterns, the puzzle board.
So both engines run identical JavaScript and differ only in their own rendering. A gap between the two numbers is a fact about the engines, not about which app happened to be written more carefully.
The full procedure and the seven phases are described on the Pixi stress page.
What this one adds
Section titled “What this one adds”Phaser drives the GL differently from Pixi, and exercises different parts of the shim on the way to the same picture — its own texture batching, its own blend-mode handling, and a 2D canvas probe at import. Running both is how you tell a runtime problem from an engine problem: when one engine stumbles on a phase and the other does not, the phase is not the suspect.
Run it
Section titled “Run it”npm run build:screenkit -w screenkit-example-phaser-stressruntime/build/macos/screenkit-host --window examples/phaser-stress/app.skpkgOn a Pi:
sh tools/batocera/pi.sh bench phaser-stress # writes out/phaser-stress.json